Strawberry Icebox Cake
Strawberry icebox cake embodies the spirit of effortless summer desserts. There’s a certain anticipation in assembling simple ingredients, watching the layers build, and letting your refrigerator work its quiet magic. While this no-bake cake has roots in old-fashioned ingenuity, its airy richness and fresh fruit flavor still captivate today.
This guide will walk you through every detail, from choosing berries to serving neat, satisfying slices.
Why Strawberry Icebox Cake?
You want something unfussy yet celebratory—something cool, creamy, and perfect for sharing with family or friends. Strawberry icebox cake delivers on all counts:
- No baking: You won’t need to turn on your oven.
- Simple prep: Only basic kitchen tools required.
- Flexible: Great for potlucks, picnics, casual dinners, and birthdays.
- Crowd-pleasing: Sweet berries, pillowy cream, and soft graham crackers bring everyone together.
The icebox cake’s vintage appeal rests in its humble ingredients and transformative texture. As the cake chills, graham crackers absorb moisture from the cream and fruit, turning light and cake-like. Each bite melts in your mouth.
Ingredients and What Makes Them Work
This dessert calls for just a handful of classic ingredients. But with an icebox cake, quality matters.
Main Ingredients
| Ingredient | Notes |
|---|---|
| Fresh strawberries | Look for ripe, sweet berries without bruises. |
| Heavy whipping cream | Whips up light, airy, and stable. |
| Powdered sugar | Sweetens the cream, dissolves easily. |
| Vanilla extract | Adds depth to the cream. |
| Graham crackers | Absorb moisture to form soft layers. |
Selecting the Best Strawberries
Choose deep red, glossy berries with green caps still attached. Medium-sized strawberries offer the best balance of flavor and juiciness. Avoid berries that feel mushy or lack fragrance—they won’t hold up in your layers.
Quick tip
If berries are slightly tart, sprinkle them with a teaspoon of sugar after slicing. Let them sit for 10 minutes to draw out natural juices.
Step-by-Step: How to Make Strawberry Icebox Cake
Icebox cakes are simple, but neat assembly and a bit of patience yield the best results.
1. Prep Your Equipment
- Use a 9×13-inch rectangular baking dish for classic presentation.
- Chill your mixing bowl and beaters for at least 10 minutes before whipping cream—this helps achieve maximum volume.
2. Make the Whipped Cream
- Pour 3 cups of heavy whipping cream into the chilled bowl.
- Add 1/2 cup powdered sugar and 1 teaspoon vanilla extract.
- Start beating on low speed, then increase to medium-high until stiff peaks form; this should take 3–4 minutes.
Optional stabilizer: If you plan to serve the cake after 24 hours, add 1–2 tablespoons of instant vanilla pudding mix or a teaspoon of cornstarch with the sugar for extra stability.
3. Prepare the Strawberries
- Rinse and dry 2 pounds of strawberries.
- Remove stems and slice berries thinly (about 1/8–1/4 inch thick) to ensure even layers.
- Reserve a few whole or halved berries for garnish, if you like.
4. Layer the Cake
Assembly instructions
- Base layer: Spread a heaping spoonful of whipped cream in the bottom of your dish—just enough to coat.
- First cracker layer: Arrange graham crackers on top, breaking as needed for full coverage.
- First cream layer: Spread about 1/3 of the whipped cream evenly over the crackers.
- First berry layer: Scatter 1/2 of the sliced strawberries across the cream.
- Repeat: Add a layer of crackers, a layer of cream, another layer of berries.
- Final layers: Top with remaining crackers and finish with the last of the whipped cream. Add reserved strawberries for a decorative finish.
5. Refrigerate
- Cover the dish tightly with plastic wrap or foil.
- Chill for at least 4 hours, but overnight is best.
- The longer rest time allows crackers to fully absorb moisture and soften.
Expert Tips for a Beautiful Cake
- Cold tools whip better: Always beat cream with cold tools for the fluffiest, most stable whipped cream.
- Layer thoughtfully: Thin, even layers ensure easy slicing and consistent texture.
- Don’t skip overnight rest: Four hours is the minimum, but eight hours gives the softest, most cake-like layers.
- Play with extras: Lemon zest or a swirl of strawberry jam amplify the fruitiness. For a twist, try chocolate graham crackers or add a handful of blueberries for color.
- Go easy on the liquids: Don’t add extra liquid or very juicy fruit—it can make layers soggy.
Serving Suggestions
Serve the cake cold, directly from the fridge. Use a sharp knife, wiping between cuts for clean slices. A wide spatula helps lift out each piece with all the layers intact.
Garnish ideas:
- Fan out fresh berries across the top.
- Sprinkle with finely chopped pistachios or toasted coconut.
- Drizzle with a spoonful of strawberry coulis if you want a hint of tartness.
Strawberry icebox cake pairs beautifully with coffee or iced tea, balancing rich cream with bright berry flavor.
Common Questions
Can I use frozen strawberries?
Fresh berries provide the best texture and flavor. If using frozen, thaw thoroughly and pat dry with paper towels to remove excess moisture.
Can I substitute other fruits?
Absolutely. Raspberries, blueberries, or sliced peaches fit right in. Just avoid overly juicy or watery fruits.
Is it possible to make this dairy-free?
You can swap the cream for full-fat coconut cream and use a plant-based whipped topping. Make sure the graham crackers are also dairy-free.
Troubleshooting and Variations
- Cream won’t whip: The cream is likely too warm or not heavy enough (look for at least 36% milk fat).
- Soggy bottom layer: Don’t overload with fruit in the base layer; allow cream to create a moisture barrier.
- Too sweet or bland: Taste the whipped cream before assembling. Adjust sugar or vanilla as desired.
Variations
- Chocolate version: Use chocolate graham crackers and add chocolate shavings on top.
- Zesty twist: Fold lemon curd into a portion of the whipped cream for a tart kick.
- Smaller servings: Halve the recipe for a loaf pan; line with parchment for easy lifting.
Storage and Leftovers
- To store: Keep the cake tightly covered in the refrigerator for up to four days. The texture is best in the first two days.
- To freeze: Wrap well in plastic and foil. Thaw overnight in the fridge. The texture softens, but flavor remains bright.
The Final Word
A strawberry icebox cake brings delight with every bite—cold, creamy, and layered with nostalgia. The gentle sweetness and pillowy texture make it friendly for both beginner and experienced cooks. Try it once, and you may find yourself returning to this simple classic every berry season.
Strawberry Icebox Cake
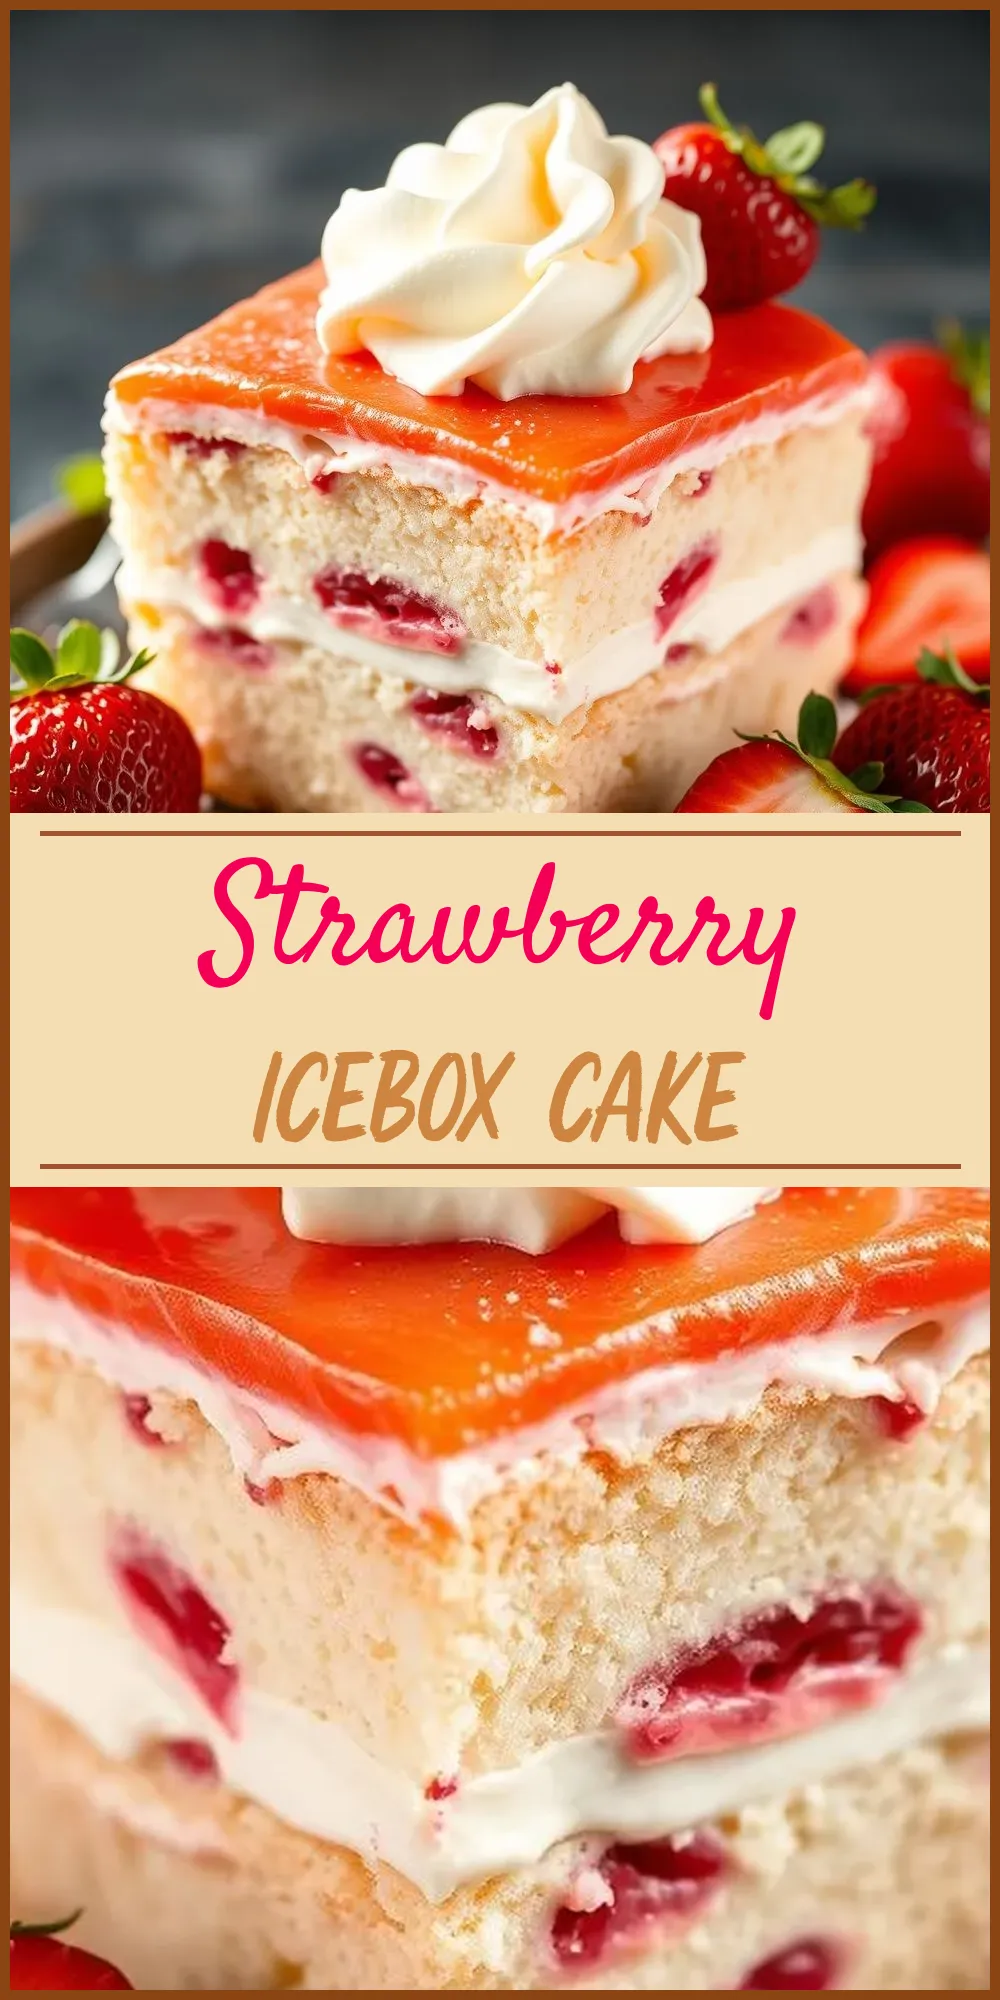
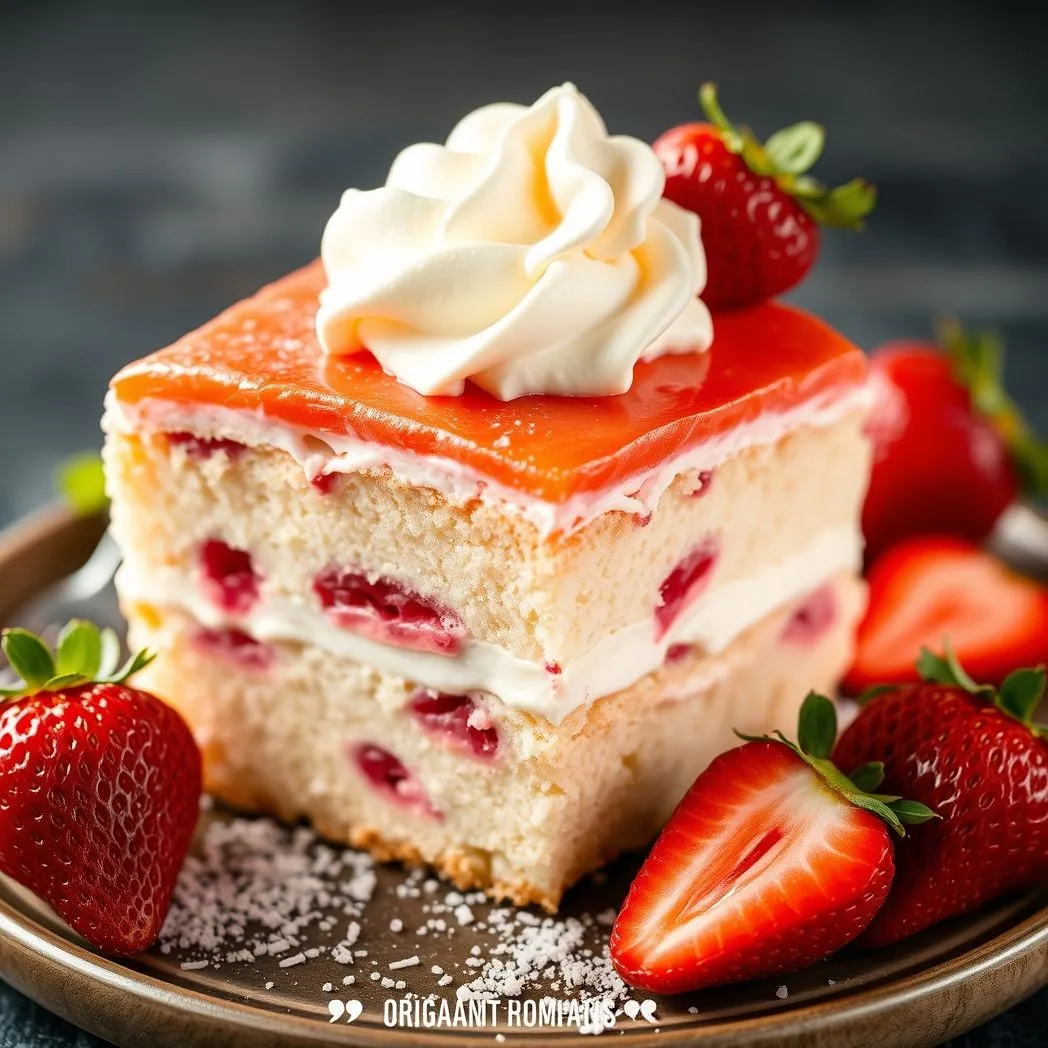
This no-bake strawberry icebox cake is an absolute delight! It has layers of fresh berries, graham crackers, and whipped cream. No one can resist it.
Ingredients
- 1/2 cup powdered sugar
- 14 oz graham crackers (about 24 full sheets)
- 3 cups heavy whipping cream
- 2 lbs fresh strawberries, hulled and sliced
- 1 tsp vanilla extract
Instructions
- In a large bowl, beat the heavy cream with an electric mixer. Add the powdered sugar and vanilla extract. Continue beating until stiff peaks form. Set aside.
- Spread a thin layer of the whipped cream mixture in a 9x13-inch baking dish. Coat the bottom evenly.
- Arrange a layer of graham crackers to completely cover the bottom of the dish. Break the crackers as needed to fill in any gaps.
- Spread about 1/3 of the whipped cream mixture evenly over the graham crackers. Arrange half of the sliced strawberries evenly on top of the cream.
- Repeat the layers with the remaining graham crackers, whipped cream, and strawberries. Make sure to end with a layer of cream and strawberries on top. You should have 3 layers of each component.
- Cover the dish tightly with plastic wrap. Refrigerate for at least 4 hours, or overnight. This allows time for the graham crackers to soften into a cake-like texture.
- When ready to serve, slice the strawberry icebox cake. Plate each slice. Garnish with additional strawberries if desired.