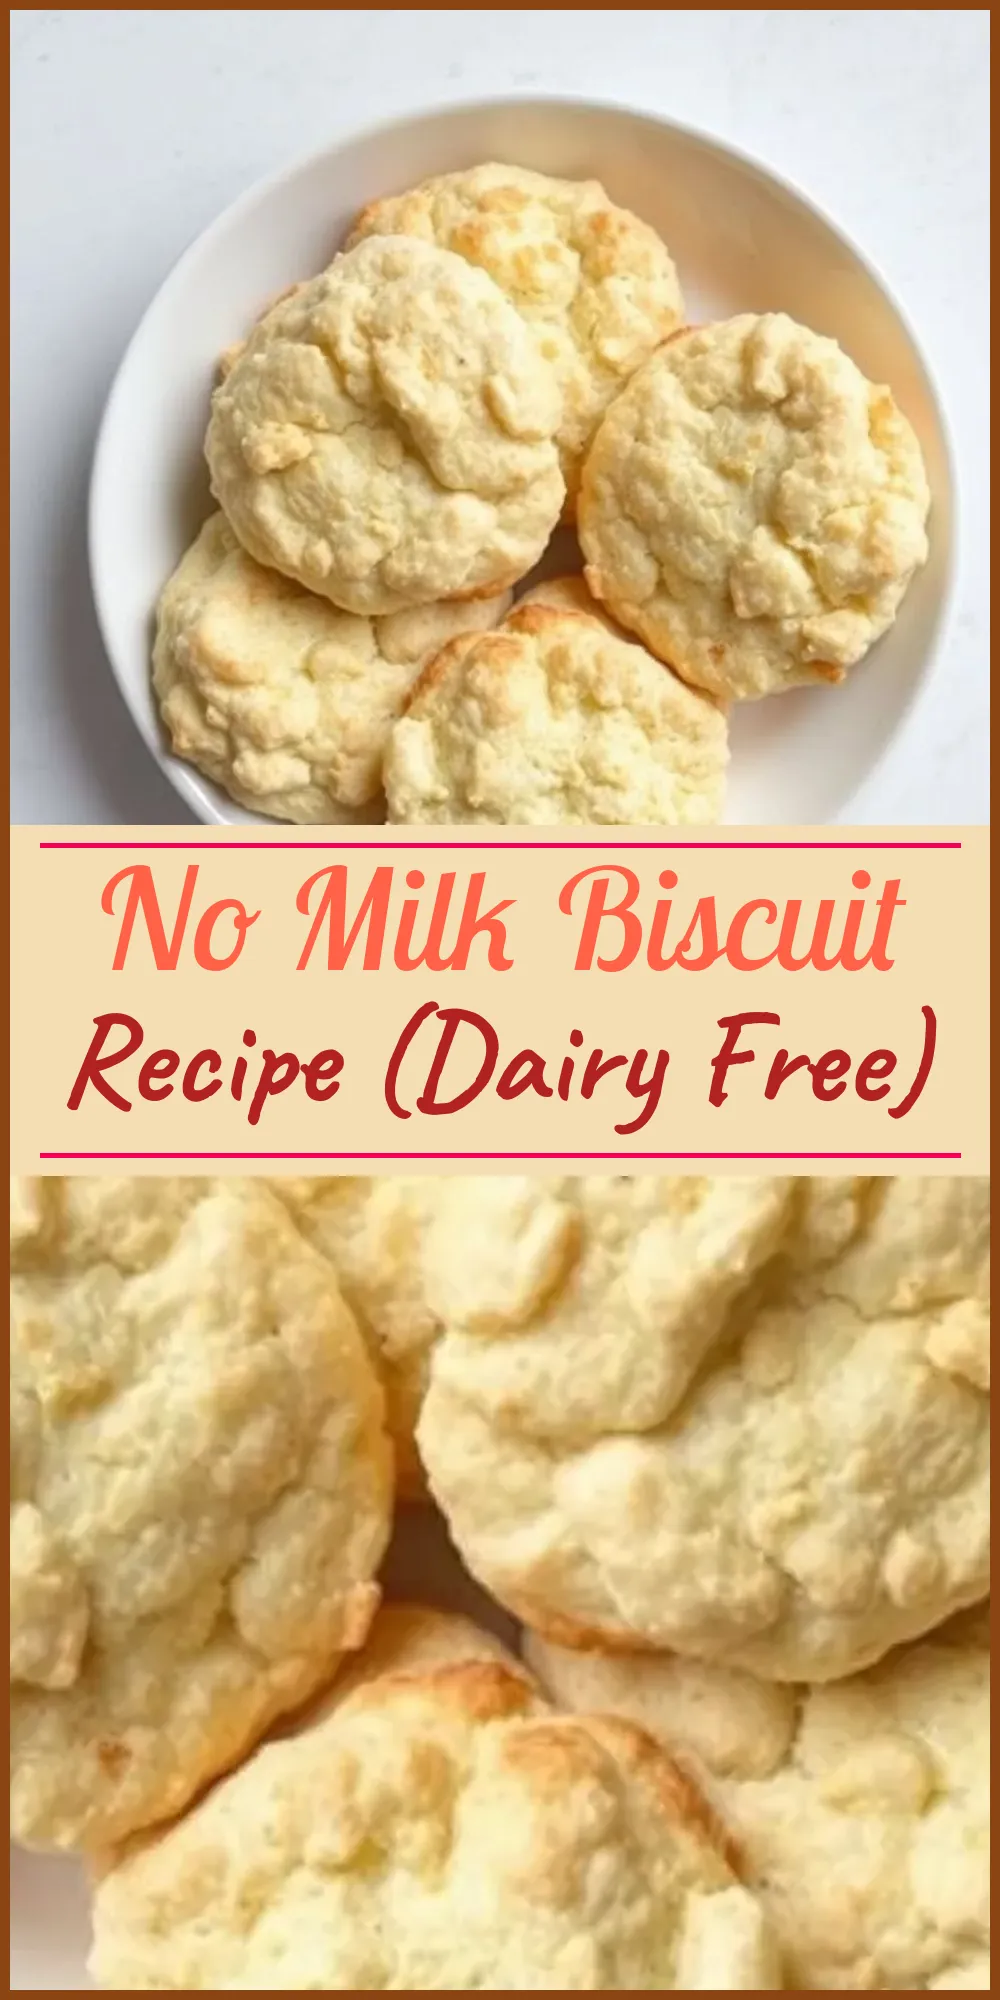
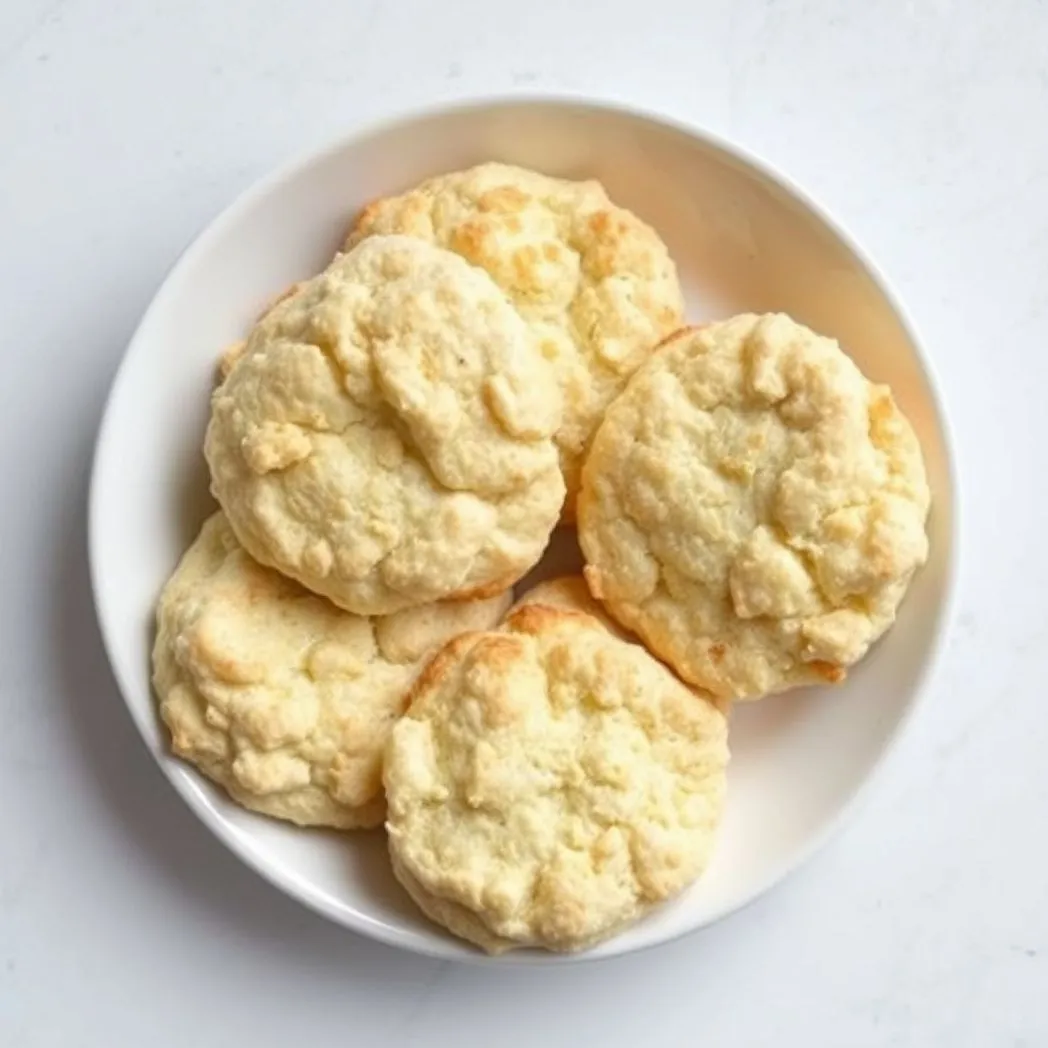
No Milk Biscuit Recipe (Dairy Free)
Homemade biscuits are a simple pleasure, and you might think dairy is essential for their tenderness and flavor. Not so. You can bake fluffy, mouthwatering biscuits with just a handful of dairy-free pantry staples. This guide will walk you through every step of making no milk biscuits, from choosing ingredients to serving ideas, so you can enjoy fresh, dairy-free bread anytime.
These biscuits have the classic golden crust, a soft crumb, and layers that pull apart easily. Serve them hot, straight from the oven, or tuck them into a bread basket for snacking later in the day. Once you try these, you’ll keep this recipe close for breakfasts, snacks, and comforting dinners.
What Are No Milk Biscuits?
No milk biscuits are just what the name promises. They contain no milk, butter, cream, or any other dairy-based ingredient. This simple swap opens biscuits up to anyone following a dairy-free diet or dealing with lactose intolerance. Shortening replaces butter, while cold water stands in for milk. The result is a biscuit with the same rise, tenderness, and lightness you’d expect from the classic version.
If you love the flavor of traditional biscuits but want or need a plant-based option, this recipe won’t let you down. They work well as a base for savory breakfast sandwiches, alongside soups, or just with a drizzle of honey or a spoonful of jam.
Ingredients
All you need are five basic ingredients, likely already in your kitchen. Here’s what each one brings to the dough:
- All-purpose flour: Delivers structure and that classic biscuit crumb. You don’t need bread flour or cake flour here.
- Baking powder: Powers the rise, helping biscuits puff up light and tall.
- Salt: Balances flavors and strengthens the dough.
- Vegetable shortening: Provides fat and tenderness without dairy. It creates flaky layers.
- Cold water: Brings the dough together and helps with rise.
Optional add-ins:
– Herbs and seasonings: Try chives, thyme, rosemary, garlic powder, or black pepper for added flavor.
– Vegan butter alternative: Brush on top before baking for a golden finish.
Typical Ingredient Quantities
Below is a sample ingredient table to get you started:
| Ingredient | Amount |
|---|---|
| All-purpose flour | 2 cups |
| Baking powder | 1 tablespoon |
| Salt | 1 teaspoon |
| Vegetable shortening | 6 tablespoons |
| Cold water | 3/4 cup, as needed |
How To Make No Milk Biscuits
Homemade biscuits can seem intimidating, especially without butter or milk. Don’t worry—this process is straightforward and easy to master.
Step 1: Mix the Dry Ingredients
Start with a large mixing bowl. Whisk together flour, baking powder, and salt. Whisking helps distribute the baking powder evenly, so every biscuit rises well.
Step 2: Cut in the Shortening
Add the shortening to the flour mixture. Use a pastry cutter, two forks, or cold fingertips. Work the shortening in until the dough looks like coarse crumbs. This step is key for flakiness. Flecks of shortening should still be visible; they melt during baking and create pockets of air.
Step 3: Add Cold Water
Gradually stir in cold water. Add about two-thirds first, mix, then add more as needed. Stop when a shaggy dough forms. The dough should be slightly sticky but not wet. It’s better to add too little water at first than too much.
Step 4: Shape the Dough
Turn the dough out onto a lightly floured surface. Gently pat or roll it to about 3/4-inch thickness. For extra layers, fold the dough over onto itself once or twice, then pat it out again.
Step 5: Cut Biscuits
Dip a round biscuit cutter (or a floured drinking glass) into flour, then cut biscuits straight down—don’t twist. That keeps the edges clean for better rise. Place biscuits on a parchment-lined baking tray, nestled close together for soft sides or spaced apart for crisp edges.
Step 6: Chill
Transfer the tray to the fridge and chill for 20 to 30 minutes. Cold dough leads to taller, lighter biscuits.
Step 7: Bake
While the biscuits chill, preheat the oven to 425°F (220°C). For a golden crust, brush the tops with melted vegan butter or a touch of oil. Bake 15-18 minutes, until puffed and lightly browned.
Step 8: Serve
Let the biscuits cool for a couple of minutes, then enjoy warm. Split open and spread with jam, dairy-free butter, or anything you like.
Tips and Tricks for Perfect Dairy-Free Biscuits
- Use quality ingredients: Good flour and fresh baking powder matter more than you think.
- Check your baking powder: If it’s expired, biscuits won’t rise. Always check the date.
- Spoon and level flour: Avoid scooping directly—flour compresses, and you’ll use too much.
- Sift the flour: Prevents lumps and keeps the dough light.
- Don’t overmix: Mix dough just until combined for tender biscuits.
- Keep everything cold: Cold shortening is essential for flaky layers. If your hands are warm, use forks or a pastry blender.
- Customize flavors: Finely chopped fresh herbs or a pinch of paprika blend in well. For sweeter biscuits, add a tablespoon of sugar and a hint of cinnamon.
Serving Ideas
No-milk biscuits are perfect any time of day. Try these serving suggestions:
– Breakfast: Slice and fill with tofu scramble, tempeh bacon, or avocado for a hearty start.
– Lunch: Serve with soup or chili; dunking encouraged.
– Snack: Pair with nut butter and a drizzle of honey (or agave for a vegan alternative).
– Dinner: Use as a side for roasted vegetables and stews.
Storing and Freezing Biscuits
Fresh biscuits are hard to beat, but leftovers are just as good with a quick reheat. Here’s how to keep them tasting their best.
Room Temperature
Biscuits stay soft when stored in an airtight container at room temperature for up to 2 days. Line the container with paper towels to help keep excess moisture at bay.
Refrigerator
For longer storage, refrigerate in a sealed bag or container for up to 4 days. Warm in a low oven or toaster oven before serving.
Freezer
To freeze, arrange biscuits on a tray and freeze until solid (about 1 hour). Transfer to a freezer-safe bag for up to 3 months. Thaw biscuits overnight in the fridge or reheat directly from frozen at 350°F (175°C) until warmed through.
Can You Make These Gluten-Free?
Yes, you can substitute a gluten-free all-purpose flour blend for classic flour. The texture may be slightly more crumbly, but the results are still soft and tasty. Look for blends with xanthan gum for best results.
Troubleshooting Common Biscuit Issues
- Biscuits are flat: The dough may have been overworked or your baking powder wasn’t fresh.
- Not tender enough: Too much flour or over-baking can make biscuits tough.
- Dry or crumbly biscuits: Dough was too dry or over-handled. Add water slowly next time, and handle gently.
- Edges didn’t rise: Twisting the cutter seals the sides. Always push straight down.
Why Choose Dairy-Free Biscuits?
Dairy-free biscuits are a practical choice for anyone avoiding milk products due to allergy, dietary preference, or ethical reasons. They suit vegan diets and many lactose intolerant individuals. The basic pantry ingredients mean you never need to run to the store for milk or butter; you can whip up comfort food with what you have on hand.
You’ll find these biscuits are just as satisfying as the originals. The crisp crust, tender interior, and endless ways to play with flavor keep them on regular rotation.
Conclusion
No milk biscuits show that homemade comfort food doesn’t require specialty ingredients or complicated techniques. This dairy-free recipe delivers tender, fluffy, and flavorful results every time. When you’re out of milk or want to keep things plant-based, this recipe is your go-to solution. Simple, quick, and adaptable—all the best things in one classic package.
No Milk Biscuit Recipe (Dairy Free)
These no-milk biscuits are golden on the outside. They are light and fluffy inside. This vegan biscuit recipe proves you don’t need dairy for amazing bread.
Ingredients
- 3/4 teaspoon salt
- 1 cup water, cold
- 3 cups all-purpose flour
- 12 tablespoons shortening, cold (3/4 cup)
- 3 teaspoons baking powder
Instructions
- In a large bowl, mix the flour, baking powder, and salt. Stir until evenly combined. Add the cold shortening. Blend with a pastry cutter or your fingers until crumbly.
- Slowly add the water. Mix with a knife or fork until the dough comes together. The dough should be shaggy, not a smooth ball. You might not need all the water.
- Turn the dough onto a lightly floured surface. Gently press it together. Pat into a rectangle. Fold it over. Press it again until it's about 1 inch thick.
- Cut the biscuits with a cookie cutter to ensure sharp edges. Transfer them to a parchment-lined baking sheet. Refrigerate the tray for 30 minutes.
- Preheat the oven to 425°F. If needed, line a second baking sheet with parchment paper. Place the biscuits about 3 inches apart. This allows for growth.
- Brushing the tops of the biscuits with dairy-free butter is optional. You can brush them if you wish.
- Bake for 15-20 minutes. Continue baking until the tops are golden. Insert a toothpick into the center. It should come out with a few moist crumbs.
- Let the biscuits cool for 5 minutes. Serve. Enjoy.